In this tutorial we are going to look at how to photograph and eclipse as well as how to make a disappearing disk sequence in Photoshop.
There are 2 types of eclipses, lunar and solar. A lunar eclipse is much more common and happens when the earth passes between the sun and the moon. The earth’s shadow is cast upon the moon which cases the eclipse. At the peak of the full lunar eclipse the moon can turn red, this is known as a blood moon. The color comes from the reflection of all of the earths sunsets at the same time. A solar eclipse is when the moon passes between the earth and the sun and on rare occasions can cause a full solar eclipse when the moon fully blocks out the sun. It’s an eerie experience as the light turns to dark like a dimmer in a matter of seconds. The temperature drops and everything goes silent, even the animals. See my video below as I document our Casper WY Solar eclipse experience.
Lunar eclipses are much easier to photograph than solar eclipses and require less equipment. Ideally, you would like a sturdy tripod and a long lens. If you are going to shoot a sequence, then you will also need an intervalometer. Many cameras have these build in. Special filters aren’t required. Things also happen much more slowly with a lunar eclipse than a solar eclipse. The January 20/21, 2019 Super Blood Wolf moon times are: The Eclipse Will Last For 5 Long Hours… …from start to finish. The Moon will be completely covered by the Earth’s umbra for over 60 minutes. The entire eclipse, including the penumbral and partial phases, will take 5 hours and 12 minutes. Here are some terms
The important thing is to scout out the location you want beforehand. Check the weather forecast and look for an area with a clear sky. Light pollution isn’t such an issue with photographing the moon as compared to stars. You need an area where you can be uninterrupted for several hours and will have a clear sky. the entire process can last 5 hours with full eclipse lasting an hour. I have successfully shot an eclipse sequence from my open garage before and it wasn’t any worse than when I ventured out into the open desert. If you are looking to frame the moon against a land mark, then you should do a little research and find out where the moon is going to rise and position yourself well in advance.

This is one of my shots (uncropped) of the Super Blood Wolf Moon on Jan 20, 2019 at Irvine, CA. Shot with Sony A7III with Metabones 5 adapter, canon 400mm 5.6 L with 2X extender. 1/8, f/11 ISO 16000
You will want a long lens and/or extension tubes
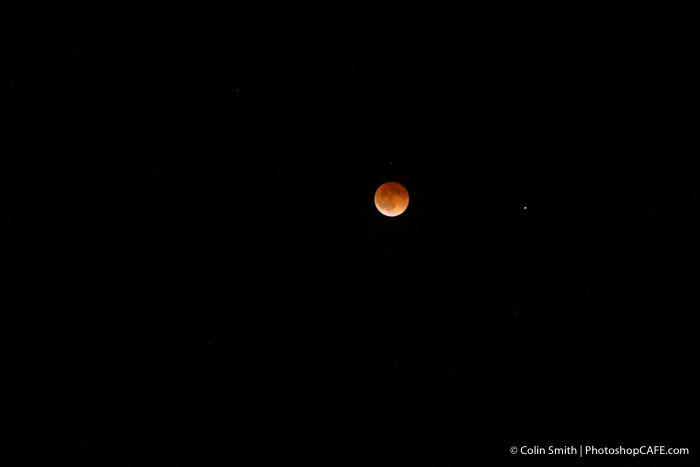
This is a lunar eclipse shot with a 200mm lens

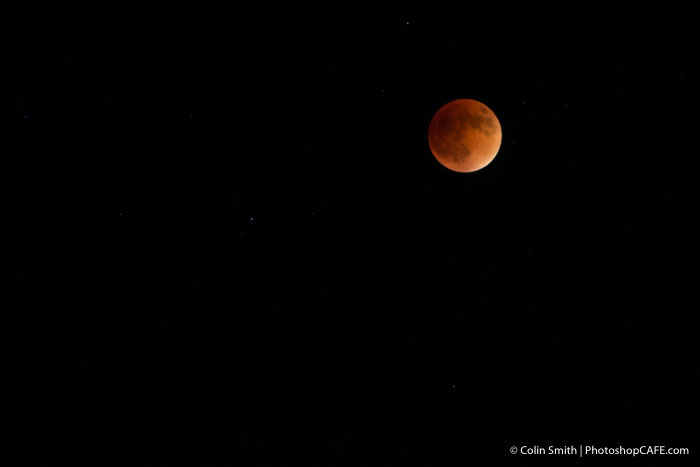
Here I used a 2X extender to get 400mm. Don’t be dismayed, you can crop into the image and get a decent sized moon out of it.

The moon is typically brighter than you think, If you try to shoot a full moon, you will need to underexpose a lot more than you think. However during an eclipse the brightness will be changing as the moon falls into shadow, so you will need to keep your eyes on the settings and update when needed. If have used bracketing before, which provides a level of safety. Here are some things to bear in mind.
So, in a nutshell, you want a shutter speed of around 1/125 if you want to avoid motion blur on a long lens. You will want to shoot pretty open, around f4 and keep the ISO as low as possible. Make sure you get your focus early on when the moon is brighter and switch to manual focus and tape it down, don’t touch. If firing manually, use a remote, so you don’t shake the camera. Set your camera to bracket the exposures, 3 exposures should be enough. Last eclipse, I set my intervalometer to 1 shot per minute, giving me 300 shots over the 5 hour period. That would be 900 shots including the bracket. That might be excessive, so you can shoot longer intervals if you like. I might do 2 minutes this time, if the shy is really clear, then I’ll go for 3 minute intervals. I saw this because if there are occasional clouds, then you should shoot more often to get those “safety shots”.
Make sure your tripod is firmly planted, so that your focus and the size of the moon doesn’t change if you are making a sequence. You will need to keep an eye on the moon position as the moon will travel far and you will need to recompose your shot often. Do this by panning your head and not moving your tripod position, or you risk changing your focus. The good news is that if you are creating a sequence, the moon doesn’t need to be in the same position in frame for every shot.
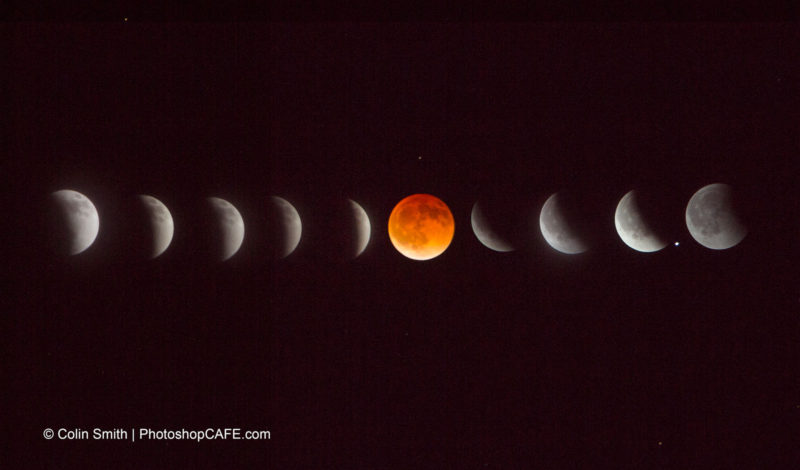
Here is a sequence I put together showing all the phases of the eclipse in 2014.

Check out how to shoot a solar eclipse in this video
You have photographed an eclipse, now what?
This tutorial shows you how to process the eclipse photos into a sequence.
Here is my behind the scenes adventure of the Full Solar Eclipse of 2017
Lunar Eclipse Irvine, CA, April 2014

Solar eclipse, Casper WY, August 21, 2017.
Follow me on Instagram to see my photos.
Thanks for checking it out!
Great see you you here at the CAFE
This site uses Akismet to reduce spam. Learn how your comment data is processed.
Here is a fun little tutorial that will show you how to make chrome outlines around your text. Have fun...
How to make realistic animated rain in Photoshop. Create raindrops and make them move in Photoshop, Control the density...
New in Photoshop 2020 Object selection and new preset panels. This Photoshop tutorial shows how to easily change the color...

Wow, you make it look easy. I love the tip on making the evenly spaced columns in the view mode. I assume if you did rows along with columns is how you could line them up diagonally. Great little tutorial.
I was counting on you to bring stellar images of the eclipse! LOL My little grandson and I only got to see the eclipse in a shoe box I fixed to view it with. Hopefully, he caught the gist of what we were viewing. We were able to see it with a sizable chunk of the sun missing where we were in Florida.
Thank you for sharing what you do!
Su
I returned home this evening after imaging last nights Super Blood Wolf Moon Total Lunar Eclipse and was looking for some Photoshop processing how to videos when I found your post. Specifically the video of your travel too and imagining of the Total Solar Eclipse of 2017 near Casper, Wyoming. In August of 2017 I drove my family with a RV Trailer from Virginia and found myself a few miles North of Glendo, Wyoming on the morning of the Total Solar Eclipse. This after we discovered there would be cloud cover in Kansas and Iowa where we originally planed to stay. It was an exhausting overnight drive to Glendo and in my hurried time to get set up and start capturing, I almost forgot to enjoy it. I believe you and your friends captured the experience of the eclipse in the video very well. As I watched I remembered the excitement of seeing the shadow that transitioned across the Wyoming landscape, and then Totality. The roar of all those near by and the overwhelming feeling I can’t describe during the 2 plus minutes we all shared during that time. This brought back great memories. Very Nicely Done! Thank You!
Thanks for the enjoyable comment. It was definitely an experience of a lifetime shooting the Eclipse in WY!
I am from Luxembourg. I almost was in Casper. But because I found no hotel to book there, I finally went to Smiths Ferry (Idaho, north of Boise). Nice souvenirs and pictures!!
Missed Argentina/Chile 2019 due to family reason 😢. And missed Argentina/Chile 2020 due to COVID19 😡. Next Hybrid April 20 2023 or Total April 24 2024??
Stefaan BOGAERT.
I didn’t have a place originally, but ended up meeting new people and making new friends.